Over the past few weeks we have introduced the children to the map of the world. They have learned to differentiate land shapes from oceans and have learned the names of each continent. Each continent is colour coded in a Montessori classroom. This helps the children to remember which is which a lot easier and they now can point at each of them on the map at circle time without any hesitation. The next step was to teach them some characteristics unique to each of the continent.

Showing posts with label Montessori Culture. Show all posts
Showing posts with label Montessori Culture. Show all posts
Thursday, March 31, 2016
Sunday, May 24, 2015
1- Life cycle: from seed to sunflower
Theme: New beginnings in Spring
Topics: the life cycle of a seed
For the children to understand the concept of life cycle, there is no better way than getting them to plant their own seeds and let them make their own observations afterward. We used at first pictures to explain to them how a small seed grows into a plant once it is planted in the ground. The pictures showed them the different stages of growth. Of course, without water and without the warmth of the sun, nothing would grow. We then went outside and planted a little sunflower seed. We made a trip to the greenhouse ( how to explain a child that the green house is not actually green?😜) and placed our little pots there. Every day, before outdoor play, the children got a chance to come and water their plants and see them grow!!


Wednesday, January 15, 2014
Maping the world with our animals
In our classroom, we have collected many
“continent boxes” over the years. We use them as an addition to our traditional
Montessori folders. We have been lucky enough to swap items with many friends
across the world and in each box, we have little collection of plastic animals.
It just occurred to me one day as we were learning about the continents, that I
could gather all these animals and use them in conjunction with a large floor
world map. The children have been studying the continents for quite some time, they are now quite familiar with their names and shapes and colours. The idea
is for the children to explore the map of the world, and in particular
the countries of origin where the animals come from. I am working on a felt map to use but this is a slow process as I am not great at sewing! In the meantime, we are using the Montessori world map. I use 7 little boxes
colour-coded according to the continents on the Montessori world map. Each little box contains plastic animals from each continent.
As you can see below, I simply used plastic washing soap liquid dispensers to store the animals. I had boxes but they were either too big or too small, while some were made out of wood, wicker or plastic. I wanted something a bit more uniform but I didn't want to go and spend too much money. I suddenly realised that I had been "collecting" theses dispensers in my utility, so...voila!


How does it work? I invite a child to work with me and I point first at the colour code on each box. I ask the child to match the colour to the corresponding map and ask them to remind me of the name of the continent. The child works with one box/one continent at a time.


When he is finished, the child must tidy up, one continent at a time, placing the animals in the right tub.


How does it work? I invite a child to work with me and I point first at the colour code on each box. I ask the child to match the colour to the corresponding map and ask them to remind me of the name of the continent. The child works with one box/one continent at a time.


When he is finished, the child must tidy up, one continent at a time, placing the animals in the right tub.
The aim of the activity is to look at the countries of origin of many animals the children are familiar with, thanks to their interaction with our continent boxes. The exercise requires the child to isolate maps, to identify them on the world map, giving him/her a sensorial impression of the positions, shapes and sizes of each continent. This activity is a great revision of the continent and their names, as well as a good introduction to the animal kingdom. It also helps some of the younger kid with colour recognition. And though the activity is presented and played on a one-to-one basis, it proves to be a great team work as all kids LOVE to use the animals that way and talk about them. So not only this activity links zoology and geography but it also helps children to expand their vocabulary and engages them to converse and think.
I just need to add more animals to represent marine zoology and I am lacking animals for South America and Asia. In the progress!
Thursday, February 28, 2013
An Australian Ballad....
Yesterday, I introduced the children to our new continent: Australia. I set up 2 main baskets on our geography unit: one representing the landmarks of Australia and one depicting the animals living on the continent. I also placed the Australian flag on the unit counter as well as books about the continent in question.

(It is quite funny to observe children walking in the classroom in the morning: no matter what you have changed, removed or added in the setting, they will spot it staright away and they are automatically drawn to the new activity or the new material!!)
At circle time, I used the 3 part cards about animals. I have information written in the back of each picture and I read it to them as we discovered the animals living in Australia. I then read them the story about how koalas got a stumpy tail (it's only a legend but the book actually gives lots of acurate facts about the animals mentioned in the story).


But I have to say that my favourite book is Sail Away, The Ballad of Skip & Nell by Mem Fox. We've been reading about the story two delightful little dingoes who started a rather long journey around Australia, in search of a boat race. This story is a great introduction to Australian Geography and Australian Animals and it ties the 2 baskets I have introduced SO well. It takes us to nearly every state and territory in Australia. What more do you want. And along the way, we discover new animals living in Australia!!

Later on, I showed the children how to use the 3 part cards with the plastic animals I got from The Land Down Under Toob. They first start by matching the cards to the booklet I made.


Then, they find the corresponding written name of the animals (great pre-reading skills even for non-readers).
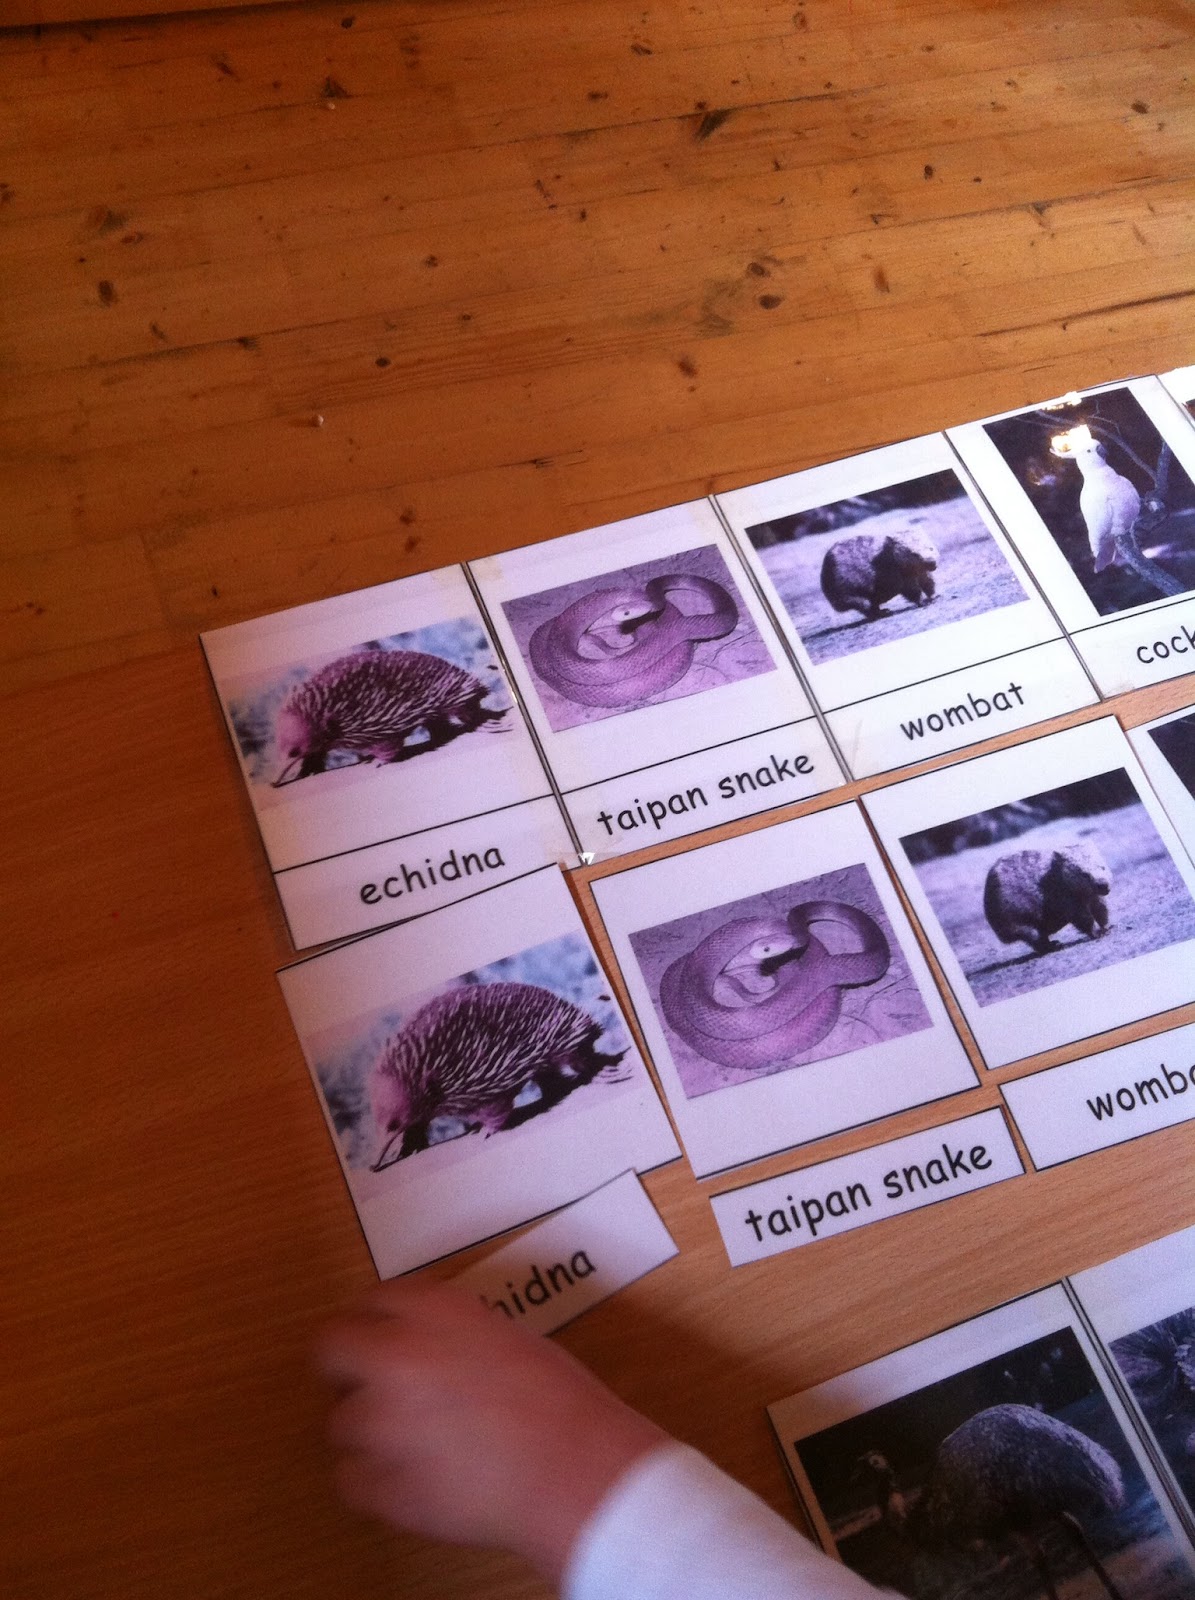
Finally, the children can match the platic toy animals to the pictures.


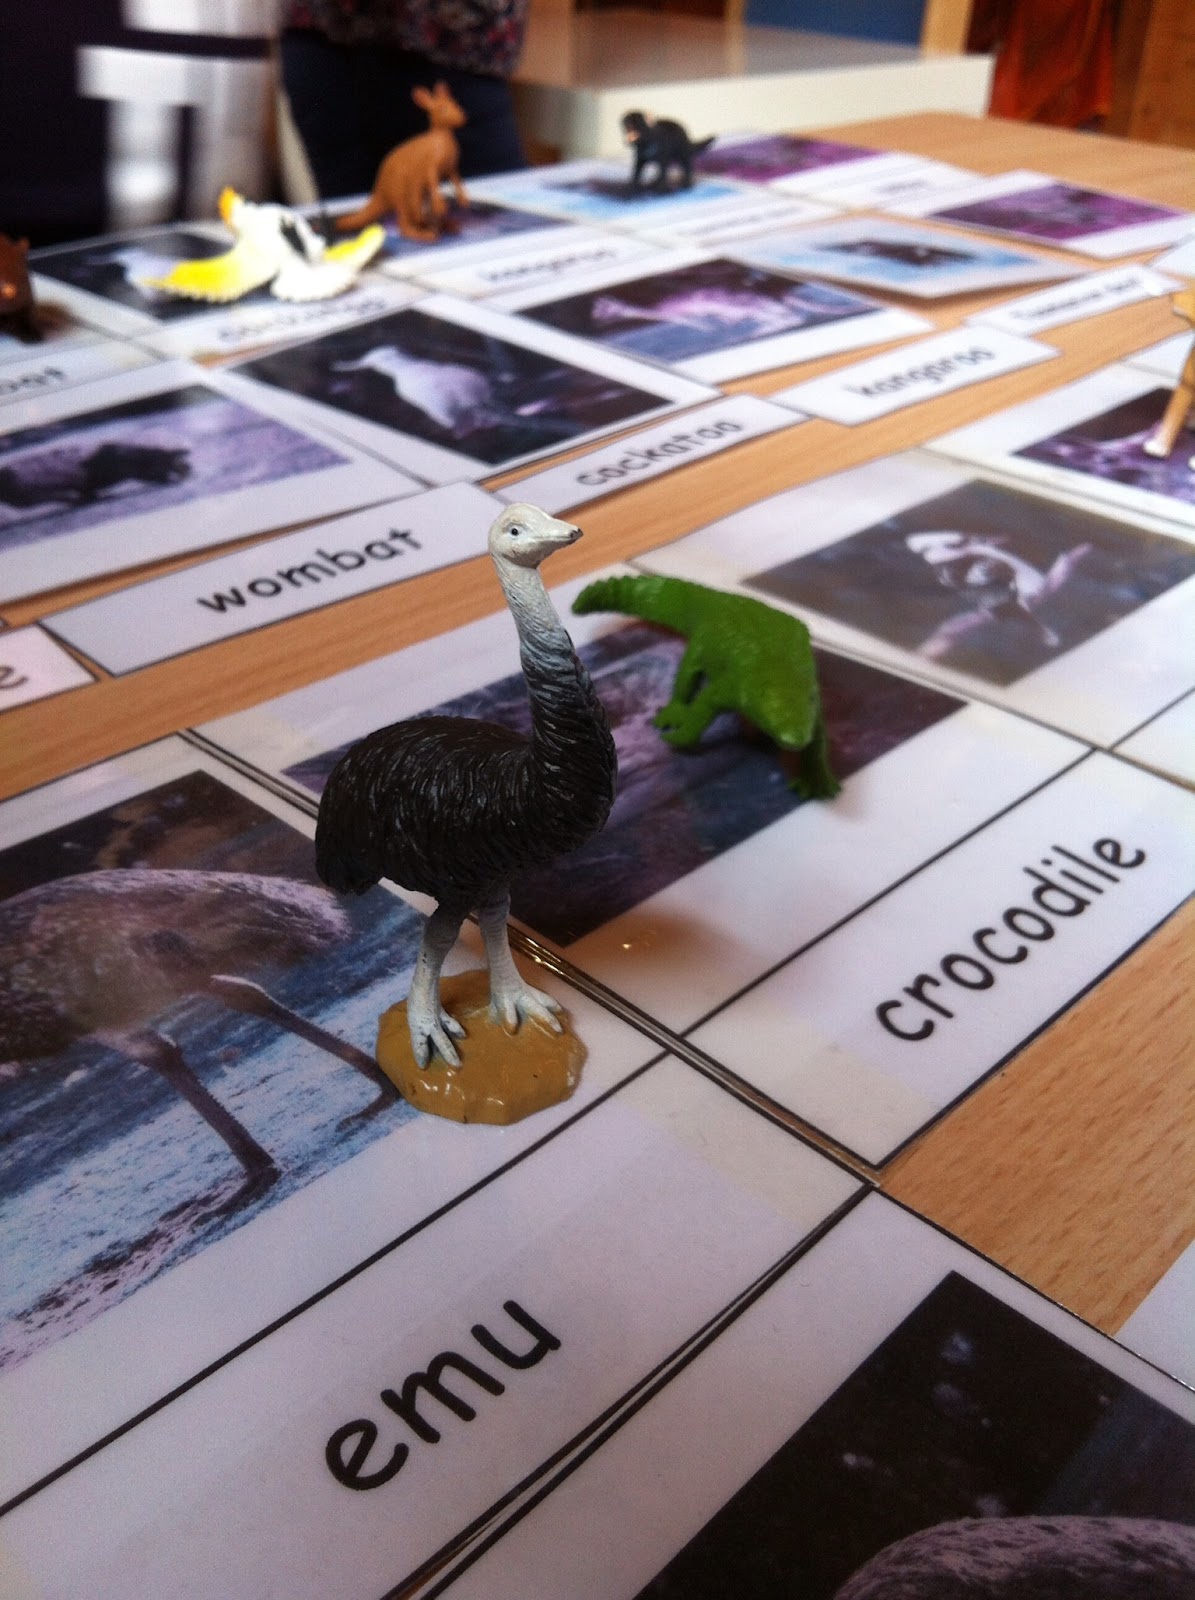
Of course, the children are also allowed to use the animals just for fun!!!
Next, I introduce the children to the Australian landmarks 3-part cards. Same principle. I added a twist by collecting a few postcards and asking the children to match them up to the right picture card! I wish I had a lot more postcards but this will do for now.


So, this is what the children are learning about at the moment. Later on, I will add fun facts and pictures about Australia as well as pictures about aboriginee art (cave painting, dot painting et..). My Australia continent box is an on-going project and apart from a few postcards, a few coins and my plastic animals, I actually do not have many items.
And just inc case some of you ask, I can't even remember where I got the 3-part cards. My guess? Montessori Tidbits. I apologise if I am wrong (please send me a message to correct me I am referring to the wrong person!). However, if you are looking for more stuff, check it on Montessori for Everyone (they have brilliant and affordable continent kits there.) I hope this helps. Keep in touch!
Wednesday, February 20, 2013
Our Antarctica continent box
As the children grew more and more confident identifying continent shapes, I introduced the children to our Antarctica box.Why starting with this one? Because we were still right in the middle of winter and the box fitted well with our Winter theme in the classroom. This box is definitely not finished and I am trying to gather more plastic animal to match our 3-part cards distinguishing animals living in the arctic world. Children have responded quite well to this new way of presenting a continent. What I used to do in the past was to leave a full box in our geography corner and let the children root though it. I did find the exercise quite upseting as the children were only using it as a treasure box, messing everything and not really learning anything. This year, I decided to introduce the children to the contents of the box gradually. To do so, I used several trays to display the materials.

We started with pictures of some landmarks. The children used the 3-part cards matching the cards together and noticing what they could see as they went along: water, ice, iceberg, snow, moutains etc... I didnt insist too much on the specific name sof these landmarks as long as they registered distinctively the major traits of the Antarctic landscape.

Then, I added another tray with simple cards representing what goes on in Antarctica. The children were amazed to discover that some small boats need to break the ice in the sea to allow bigger boats to get through. They also had a look at the ice pics used to climb mountains and the special spiked boots required to be able to walk in an icy and slippery environment.

Another time, I introduced a tray with 3 part-cards of animals that can be find in Antarctica. I got all the materials from Montessori for Everyone, laminated them and bound them together.
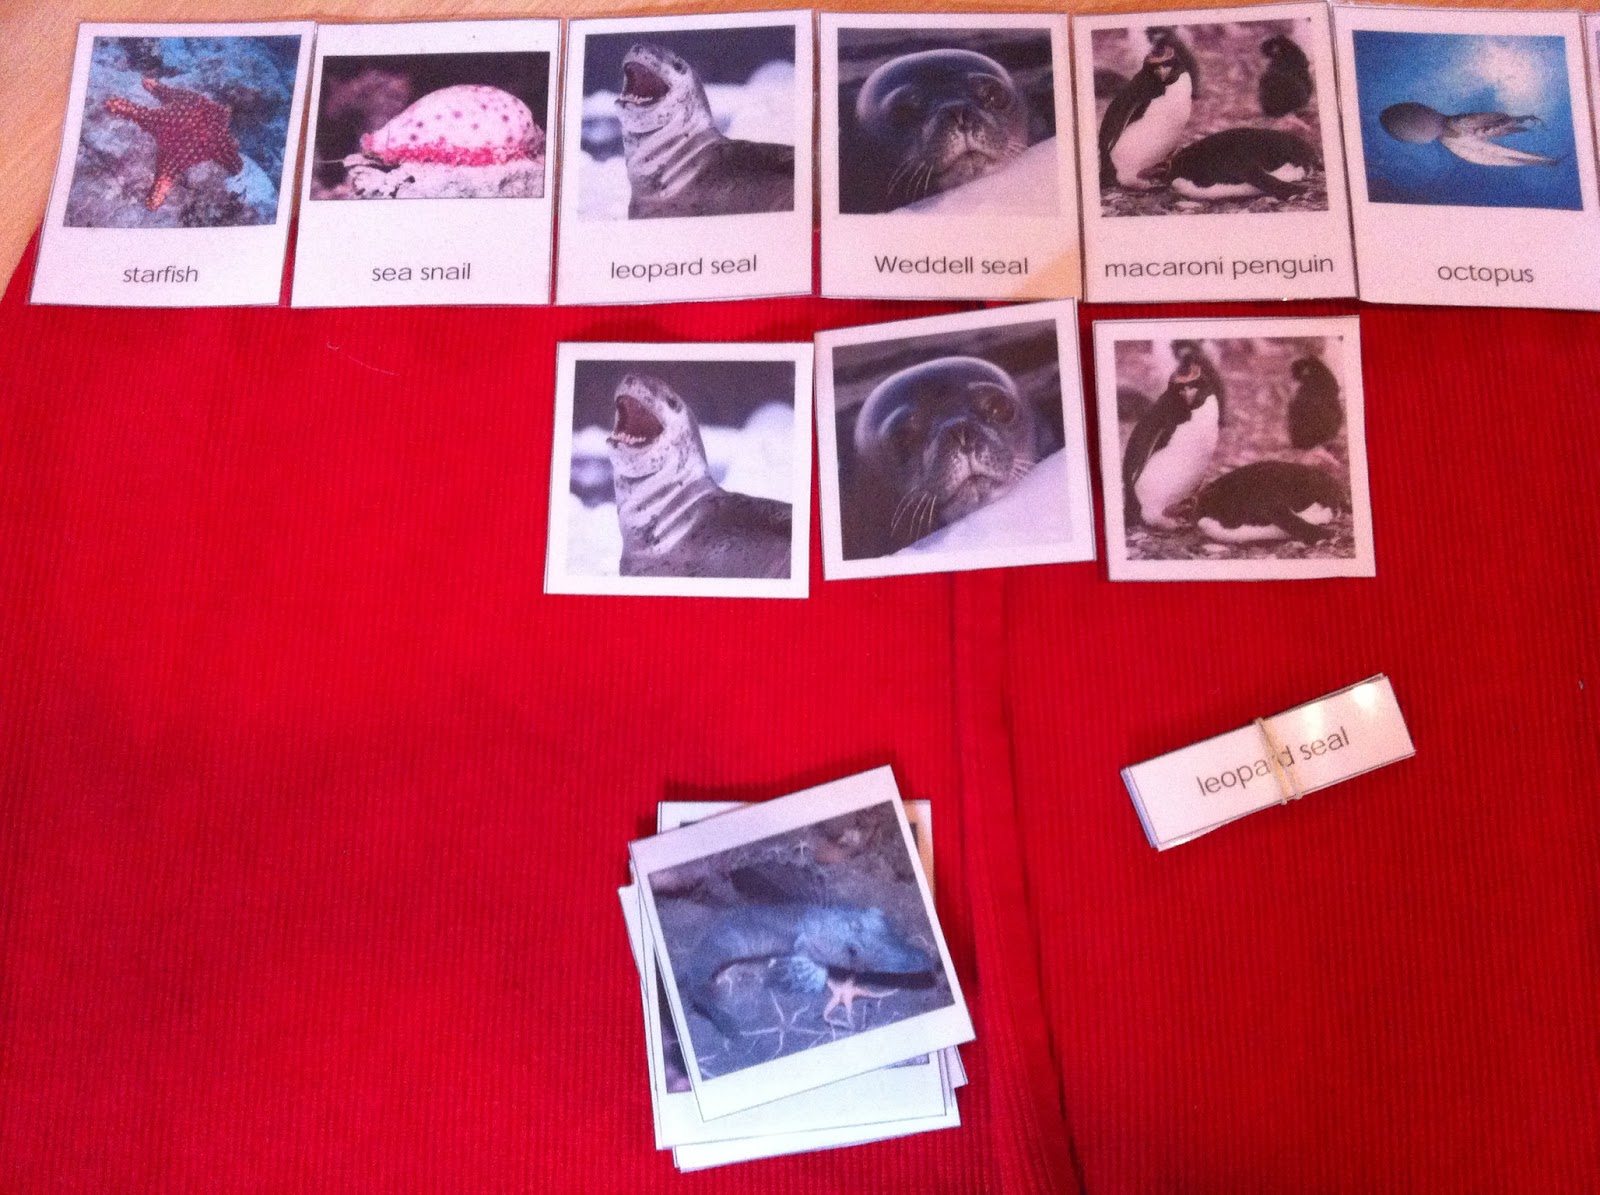
When the kids were a bit more familiar with these animals, we went look in more details into a certain type of animals: penguins!

This was so much fun to extend the study to other areas of the classroom: books in the circle-time corner, drawing and pre-writing skills area (we did the same activities as last year, see right here) etc... Later on, I added plastic animals. I am still looking for a whale, an octopus, a seal and a star fish to add to our collection. But I'll get there!

Wednesday, September 26, 2012
The importance of the sun
Today, as a follow up on our current study on our solar system, I explained a bit more why the sun was so important to us. I used a set that I created myself: a big picture of the sun, pictures of plants and animals (herbivores and
carnivores) and pictures of humans. This exercise is recommended to be done on a floor mat or on the notice board. I decided to use our rectangle table today as my back was killing me today and I couldn't contemplate kneeling down at all!!
I invited the children to the
exercise and started by placing the large picture of the
sun at the top of the floor mat. I explained the children that the sun is a very
big hot star far away. We discussed what it is like
when the sun is up (breakfast time, bright, warmer, etc..) and what it is like
when it is down (night time, colder, dark…) or when it is not shining (cold,
dull, grey…). I went on to explains that the world needs the sun to
make flowers and plants grow because plants make their food from the sun’s rays.
I picked the pictures of the plants and placed them under the picture of the
sun at the top of the table. I told the children that many living creatures need
the plants to live. They eat them. The term of “herbivores” was introduced and
I pointed at pictures of herbivores that feed on plants. I explained that if there
was no herbivore, the planet would be covered up by plants. There would be too
many plants. Then,I introduced the children to the pictures of
“carnivores” and explained to them that carnivores eat other animals as well as
herbivores to survive. I then placesd the pictures under the pictures of the
herbivores.It is important to have carnivore: if
there wasn’t any, there would be too many herbivores and we would be invaded by
them. Finally, I mentioned human beings. Some of us eat meat
and some don’t : we are vegetarian or carnivore. And I placed the pictures of
human being under the carnivores.

Such a lesson can be heavy to assimilate but repetition is the keyword. This type os exercise illustrates the cosmic plan: how one thing
affects another, how everything in the world is connected. It also teaches about the functions of things in nature, as well as developing the child's vocabulary and knowledge.
Tuesday, September 25, 2012
Our solar system
One of Montessori main principles is Cosmic education. It is founded on the belief of
integration and interconnection. I know, it sounds complex, but it is not at all! Cosmic education is a way to show the student
how everything in the universe is interrelated and interdependent. Everything
has a part to play to the maintenance of harmony in the whole. In understanding
this network of relationships, the child finds that he or she also is a part of
the whole, and has a part to play. So here we were yesterday and today, giving the children in our classroom their first sense of he universe: our solar system and the planets. The children love this topic. I use a song to help the remember the sequence of the planets (from the closest to the sun). I made a frieze with details of each planet on the back. I then showed the children how to use our 3 part-cards.
The children unfold the frieze. They hen have to match the corresponding cards under each pictures. Then they use the name cards and math the name of the planets to the frieze. Even tough the children cannot read, this is a very good reading exercise as this helps them recognise symbols and understands that there is a meaning behind them. I have placed coloured stickers behind the pictures to be used as control of error. This means that, once the child has completed the exercise, he/she can check if he/she did it right by checking the stickers on the back. Sorry, but I forgot to take a picture of it (but you get the idea!).


This is a great game as it capture the children’s imagination and inititate the children's exploration of important questions. I have been so pleased with their interest and once again, their desire to discover and learn has amazed me. This type of exercise also help to promote concentration and self-discipline.
Tuesday, May 1, 2012
Life Cycles
Following on my last post on Montessori Cosmic Education, I want to show you one of our exercises in botany and zoology: the life cycles friezes. I find them SO easy to use and they are really popular among the young ones. I didn't say they were easy to make though!! I use pictures mounted on white card and taped them together using that type of sticky back plastic book film to make a frieze.. Believe me, it is sticky!! Anyway, the idea behind that type of material is To understand that it shows clearly that life goes in cycles (as you unfold the frieze) and that things change all the time. It also reinforces the child's knowledge and understanding of living and non-living things in nature.


There are other ways of presenting life cycles to children. Simply use pictures or drawings on white laminated cards and ask the child to put them in sequence:

Here another way to do it: 2 A4 laminated cards. The child reproduces the first cards using pictures and name slips (sorry about the pictures being all sideways. It won't come right for me!!):

This is quite an easy exercise. I show the child one of the frieze she/he has chosen and discuss each picture with him/her, introducing new words and expanding his/her vocabulary. Once we have done that, I introduce the child to the 2 part cards I made to accompany the frieze. First, I show the child how to match the cards to the pictures on the frieze. If the child is confident enough, I let him/her use the name slips and match them to the words on the frieze too. It doesn't matter if the child can read or not. If he doesn't read, he simply matches the words together. SO this is a double exercise: zoology (life cycle), literacy (words recognition/letters recognition) and maths (matching skills)!!!
The frog lyfe cycle


An apple life cycle


There are other ways of presenting life cycles to children. Simply use pictures or drawings on white laminated cards and ask the child to put them in sequence:

Here another way to do it: 2 A4 laminated cards. The child reproduces the first cards using pictures and name slips (sorry about the pictures being all sideways. It won't come right for me!!):

Thursday, March 17, 2011
Our Solar System
I am going to go over a few activities we did before I created this blog. So here is the 1st one I want to share with you as it was very popular among the children.
Last January, we were studying the Solar system. Preschoolers are fascinated by that great wonder beyond the sky. Keeping in mind that that teaching the solar system to preschoolers is more about learning names and functions than it is about memorizing facts and statistics, I gave them an introduction to the concept, without an information overload. Just a few bits of information about each planet.
At circle time, using a poster of our solar system, we went through each single planet, singing our song on the "incy Wincy Spider" tune:
"Mercury and Venus, Planer Earth and Mars, Big Jupiter, Saturn and its rings, Uranus and Neptune, the last one is Pluto. These are the 9 planets that turn around the sun!" ( I know, I know. Technically, Pluto is not considered as a planet anymore,... But let's not compicate things, eh? Especially as it was still present on our poster).
I could have gone mad and made a mobile of our solar ytem with the kids but I thought it would end up being too complicated and time-consuming. So I googled a lot and I came up a good site with coloring pages, Coloring Castle website. As imple as that. I downloaded their coloring worksheet and made a sample for the kids to follow. First, they had to colour the planets in the right colour:

I helped them to cut the planets off. They then had to place them in the right order (starting with the closest planet to the sun), using the sample I provided them with.

Once they were done, they had to match the names of the planets ( a nice pre-reading exercise)!

It was a great exercise for them to practise their colouring skills and to improve their pre-literacy skills too.
Thursday, March 3, 2011
ASIA: my first continent box!
I finally started my Continent Boxes for our Geography Center! Asia is now DONE! I am so excited about this as I know the dear children are going to really thrive with their exploration. My inspiration comes from the VERY Creative and industrious Theresa of http://lapazfarm.homeschooljournal.net
Montessori encouraged teachers to use objects when studying geography (hand-on experiences). They stimulate a child’s interest and imagination and I think boxes like these are a great way to organize geography materials, and make it fun and easy to study each continent. I am hoping to fill each one up with engaging, self-directed learning tools that will keep little minds and hands working and learning independently. However, finding things from each continent can be difficult as I just found out!! I had to text, email and ring a good few friends to see if they could help me. I know that some blogs organise swaps among themselves and maybe this will be my next move. Unless I win the geography kit Montessori for everyone is kindly giving away to a lucky winner.
http://www.blog.montessoriforeveryone.com/anniversary-giveaway-1-continent-kit-collection.html Giveaway at Montessori for Everyone
Fingers crossed.
Anyway. Enough with my ramblings. This is what I came up with. Keep in mind that I will continue to add to them as the year progresses and as I discover new things to include. So here is my Asia Box.

We have plastic animals, a silk purse, chopsticks, fans, chinese spoons, spices, booklets etc..

On top of our box, I have taped the map of Asia. The box I am using is just a plain shoe box I saved. I covered it with a sticky-backed vinyl type of paper I got from Woodies. I didn't follow the color code of Montessori World Map. Why? I thought it would be more fun to decorate it. I tried to find a lotus type of design but that's all I found. This will do!


These little smelling tubes are a good addition to the Asian plants cards provided by Montessori for Everyone.

So that's is for now. I hope you like it. And please if you have any suggestions, leave a comment to let me know. I promise I will get back to you.
Subscribe to:
Posts (Atom)