Showing posts with label science. Show all posts

Saturday, October 21, 2017

The Aftermath of Ophelia

In the aftermath of Ophelia storm, as the children came back to preschool, there was a  lot to talk about and to share. The children wanted to talk about what they had seen or heard and many said they were scared  because the wind was "noisy" and because the electricity went off, leaving them in the dark. 

So I went to the storage room and dug up a book I don't use very often called "Feel the wind" by Athur Dorros. 

Feel the Wind (Let's Read-&-find-out Science)

 Now, the book can be a bit technical at times. So I skipped certain pages, changed the wording and made it as simple and interesting as possible for my 3 to 5 year olds. Then I ask the children a few questions at circle time:  What can the wind do? How can you see when it is a windy day? Answers:

Wind moves the clouds in the sky
Wind can make your clothes dry quick outside on the washing line
Wind makes the wind turbines turn and turn
Wind make our kytes fly high in the sky
Wind make things and people move
Wind can move small things
Wind cannot move rocks and heavy things

To illustrate the last 2 statements, I gathered several items around my home:  pebbles,  feathers, a sheet of paper, a marble, a miniature bale of hay, buttons, pom-poms, wooden blocks and a ball. I brought my hairdryer and plugged it in.  I explained the children that my hairdryer was like the wind: "if I blow my hairdryer on this marble, do you think the wind will be strong enough to move it?" They had to give me predictions first and when they saw what happened, we placed the objects into 2 categories: heavy and light. To tell you the truth, this was such a great experiment!! Every time an object moved, the children giggled and laughed and clapped hands!! It was absolutely brilliant!!  Here are a few photographs of our little experiment:


Next, we talked about the fact that it is a good thing the wind makes the turbines turn as it helps producing electrivity. And I asked them : 

"what works with electricity in your house?"

I should probably have recorded  how many times  "my wii", "my brother's X-Box", "my sister's Playstation" were mentioned!!!!! Children are moving on with the technology. It was exciting to make them realise that practically everything they need and like works with electricity!!!! And Ophelia was the best experience as they had loads to say about it. 

I also asked the kids to tell me how they could see it was a windy day outside. "The trees are moving, the leaves too. And the flowers!! ". Then, we went outside and I asked them to close their eyes. I asked again how they could now tell it was windy. "My hair is blowing!!" and " I can feel it on my cheek". Another child cleverly said "I can hear it!" and another one added "..and I can hear the wind chimes making music too!". 


Friday, October 21, 2016

Naming clouds...

As we were berry picking the other day, a little boy stood quite still in the middle of the field, looking up to the sky. I asked him what he was looking at. He said he could see a funny cloud shape in the sky. I looked up and asked him what it was shaped as. He simply said it looked like a big marshmallow!! Other children joined in when they saw us and we all had a game of "guess what my cloud looks like"! We saw dogs, circles, superheroes etc...Imagination had no limit. The following day, at circle time, I showed the following video to the children. It is based on a book called "it looks like spilt milk" by Charles G. Shaw. The children loved it as it was an extension of what we had done the day before. 


Friday, October 14, 2016

We are going on a bear Hunt

One of the children's favourite books in our classroom is We are going on a Bear Hunt. They love the chanting rhyming tone of the text, the pictures, the repetitive and therefore predictive actions.. So we often use this story to introduce our topic on bear and hibernation. Here are a few examples of our classroom's activities based around the book.

Language /Communication:  Using props 

At circle time, once the children were familiar to the story, we introduced the props to add another twist to the story telling experience. 


Sunday, May 24, 2015

1- Life cycle: from seed to sunflower

Theme: New beginnings in Spring
Topics: the life cycle of a seed

For the children to understand the concept of life cycle, there is no better way than getting them to plant their own seeds and let them make their own observations afterward. We used at first pictures to explain to them how a small seed grows into a plant once it is planted in the ground. The pictures showed them the different stages of growth. Of course, without water and without the warmth of the sun, nothing would grow. We then went outside and planted a little sunflower seed. We made a trip to the greenhouse ( how to explain a child that the green house is not actually green?😜) and placed our little pots there. Every day, before outdoor play, the children got a chance to come and water their plants and see them grow!!

Wednesday, January 15, 2014

Ice Ice baby


As part of our winter study, I wanted the children to think and learn about ice, snow etc.. It sounds so "obvious" to us but little ones haven't all experimented the effects of low temperature.

Wednesday, September 26, 2012

The importance of the sun


Today, as a follow up on our current study on our solar system, I explained a bit more why the sun was so important to us. I used a set that I created myself: a big picture of the sun, pictures of plants and animals (herbivores and carnivores) and pictures of humans. This exercise is recommended to be done on a floor mat or on the notice board. I decided to use our rectangle table today as my back was killing me today and I couldn't contemplate kneeling down at all!! 
I invited the children to the exercise and started by placing the large picture of the sun at the top of the floor mat. I explained the children that the sun  is a very big hot star far away. We discussed what it is like when the sun is up (breakfast time, bright, warmer, etc..) and what it is like when it is down (night time, colder, dark…) or when it is not shining (cold, dull, grey…). I went on to explains that the world needs the sun to make flowers and plants grow because plants make their food from the sun’s rays. I picked the pictures of the plants and placed them under the picture of the sun at the top of the table. I told the children that many living creatures need the plants to live. They eat them. The term of “herbivores” was introduced and I pointed at pictures of herbivores that feed on plants. I explained that if there was no herbivore, the planet would be covered up by plants. There would be too many plants. Then,I introduced the children to the pictures of “carnivores” and explained to them that carnivores eat other animals as well as herbivores to survive. I then placesd the pictures under the pictures of the herbivores.It is important to have carnivore: if there wasn’t any, there would be too many herbivores and we would be invaded by them. Finally, I mentioned human beings. Some of us eat meat and some don’t : we are vegetarian or carnivore. And I placed the pictures of human being under the carnivores.
 
 
Such a lesson can be heavy to assimilate but repetition is the keyword. This type os exercise  illustrates the cosmic plan: how one thing affects another, how everything in the world is connected. It also teaches about the functions of things in nature, as well as developing the child's vocabulary and knowledge.

Tuesday, September 25, 2012

Our solar system

One of Montessori main principles is Cosmic education. It  is founded on the belief of integration and interconnection. I know, it sounds complex, but it is not at all!  Cosmic education is a way to show the student how everything in the universe is interrelated and interdependent. Everything has a part to play to the maintenance of harmony in the whole. In understanding this network of relationships, the child finds that he or she also is a part of the whole, and has a part to play. So here we were yesterday and today, giving the children in our classroom their first sense of he universe: our solar system and the planets. The children love this topic. I use a song to help the remember the sequence of the planets (from the closest to the sun). I made a frieze with details of each planet on the back. I then showed the children how to use our 3 part-cards.
The children unfold the frieze. They hen have to match the corresponding cards under each pictures. Then they use the name cards and math the name of the planets to the frieze. Even tough the children cannot read, this is a very good reading exercise as this helps them recognise symbols and understands that there is a meaning behind them. I have placed coloured stickers behind the pictures to be used as control of error. This means that, once the child has completed the exercise, he/she can check if he/she did it right by checking the stickers on the back. Sorry, but I forgot to take a picture of it (but you get the idea!).


This is a great game as it capture the children’s imagination and inititate the children's exploration of important questions. I have been so pleased with their interest and once again, their desire to discover and learn has amazed me. This type of exercise also help to promote concentration and self-discipline.


Tuesday, May 1, 2012

Life Cycles

Following on my last post on Montessori Cosmic Education, I want to show you one of our exercises in botany and zoology: the life cycles friezes. I find them SO easy to use and they are really popular among the young ones. I didn't say they were easy to make though!! I use  pictures mounted on white card and taped them together using that type of sticky back plastic book film to make a frieze.. Believe me, it is sticky!! Anyway, the idea behind that type of material is To understand that it shows clearly that life goes in cycles (as you unfold the frieze) and that things change all the time. It also reinforces the child's knowledge and understanding of living and non-living things in nature.

This is quite an easy exercise. I show the child one of the frieze she/he has chosen and discuss each picture with him/her, introducing new words and expanding his/her vocabulary. Once we have done that, I introduce the child to the 2 part cards I made to accompany the frieze. First, I show the child how to match the cards  to the pictures on the frieze. If the child is confident enough, I let him/her use the name slips and match them to the words on the frieze too. It doesn't matter if the child can read or not. If he doesn't read, he simply matches the words together. SO this is a double exercise: zoology (life cycle), literacy (words recognition/letters recognition) and maths (matching skills)!!!

The frog lyfe cycle


An apple life cycle


There are other ways of presenting life cycles to children. Simply use pictures or drawings on white laminated cards and ask the child to put them in sequence:


Here another way to do it: 2 A4 laminated cards. The child reproduces the first cards using pictures and name slips (sorry about the pictures being all sideways. It won't come right for me!!):

Montessori Cosmic Education

All over the blogosphere, on homeschool teaching blogs and early childhood education blogs, we talk about maths, literacy, physical education, but we don't give enough credit to the importance of cultura subjects in our currciculum: science, botany, zoology, history, geography, art and music...
Culture was not part of the Montessori curriculum. However, Montessori realised the importance and necessity of such a curriculum if she wanted her education to complete its cycle and be fully holistic and cosmic. Cosmic education is founded on the belief on integration and interconnection. Cosmic education opens up the child's mind and lets him discover that everything in the universe is interrelated and interdependent. Everything has a part to play to maintain harmony. When the child has understood how connected things in the universe are, he then realises that he or she also is a part of the whole, and has a part to play. Montessori spent so mch time observing children. She realised that young children interact with the natural world everywhere they go: smeling flowers, picking up leaves and feeling them, watching ants at work etc.. This is how they learn and understand how things work. Montessori believed it is important to provide the child with hands on experiences with real things before teaching them the specific names of these "things". When a child discovers something new, he is inquisitive and asks questions such as : “What is this? What is it called? How does it feel/smell/taste/sound?”. As you can see, the child try to understand using his senses.  In this sensitive period, children should be encouraged to explore their environment with their senses. Awake their senses and then move on to more abstract concepts such as the parts of the tree, the life cycle of a frog etc.. Montessori realized that young children in the period of the absorbent mind have a real need to learn the proper names for things. This is why she created the Montessori nomenclature materials (3-part cards, charts, and booklets along with their controls of error) to help children develop their vocabulary and increase their understanding of the world around them. Once the child has learnt to use his senses as a steping stone to understand the world around him, he will then start grasping more abstract concepts. For example, a child learns about shapes with the Montessori geometric cabinet or the geometric solids. This will later help him discover that his environment is made up of circles, squares and triangles. in the classroom, outside, at home etc..


Maria Montessori believed that introducing cultural subjects to young children had many benefits to the children: they capture their imagination, force them to ask questions, stimulate their needs to learn, make them more aware of the natural world, inspire them and instil in students reverence and gratitude for the people and accomplishments of the past.

So following the Cosmic plan, the idea is to go from big to small, from general to specific. First, you  give the child an all-encompassing sense of the universe with its billions of galaxies. Then it focuses, on our Galaxy, the Milky Way, our solar system, planet Earth and its geological history, the first specimens of life, all species of plants and animals and finally human beings. What is inherent in this curriculum is that everything is interconnected.  For example, at some stage the child learns about life cycles. He learns how the common fly reproduces and this way, the child also finds out that  fly lays its eggs on dead creatures, its offspring devouring the tissues to feed  thus ridding the environment of dead matter, that would otherwise pile up and pollute the earth: the cosmic task of the fly.!!!!
All this theory piece to introduce you all to some of our cultural exercises. Keep in touch.... If you wish to learn more about Montessori Cosmic Education, check up the book below. (The autors have done quite a good job at explainign the rationalefor Cosmic Education)


Saturday, March 10, 2012

What 's new in our classroom?

Here are a few pictures of what has been going on in our classroom over the past 2 weeks:

  • Working with the Seguiun Board A and the short bead stairs to teach numbers from 11-19


  • Using the Maths rods and numeral cards to reinforce number recognition and associate quantities with written symbols


  • Working on life cycles

Springtime at our doorsteps!

In France, we were thaught that Spring arrives on March 21st... Well, Irish people diagree with me and every year, they argue with me that spring starts on Februay 1st!!! Scientists would say that  it is springtime in March in the northern hemosphere, on the 21st, at the Spring Equinox.  See, the Irish used to celebrate St Bridgid's Day  halfway between the Winter Solstice and the Spring Equinox. St Bridgid's festival was pagan and was observed in Gaelic Ireland during the Middle Ages, referring to Irish mythology. Many parents have come to the classroom dropping their kids and laughing at my stubborness: at circle time, I would keep repeating to the kids that it was still winter (thought their parents had told them otherwise!). Parent would tease me and kept joking that it must have been a French thing!!! Ha ha ha!! So, I struck a deal and we usually introduce the theme of Spring in our classroom around the beginning of March. So this is exactly what we are at this week!

The first thing I do is to update our season board (see my post on our winter board here) and put new posters and pictures all around the classroom.


Then we talk about all the changes that happen outside in our garden when Spring time arrives. And at the moment, we are focusing on the weather: wind, rain, rainbows etc.. This week, I wanted the children to learn bit more about rainbows.  I looked for the best way to explain them how a rainbow happens and I thought of a few science experiments to do with them. I started by asking them "have you ever seen a rainbow in the sky?... Was it a rainy day?... What did it look like? ...Can you name the colours?". 

Reading books about rainbows is a way to begin your lesson. Here are a few suggested titles:
Rainbow and You, by Edwin C. Krupp
A Rainbow of My Own, by Don Freeman
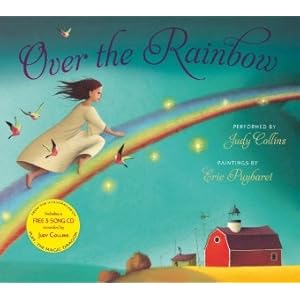
We read Over the Rainbow by E.Y. Harburg. I love this book. It comes with a CD with one of my favourite songs "Over the rainbow". A beautiful rendition. It really touched my heart and those of the children. I read the book to the children wih music in the background (the book came with a CD). I asked them to close their eyes and to imagine they were flying on the rainbow. "What can you see now?", "where are you now?" etc... They ABSOLUTELY loved that exercise. It was so much fun. We then played the song "Over the rainbow" and I used the book to illustrate each verse of the song... I really loved this activity..

Over the Rainbow 

Then,  introduced the children with a little bit of background knowledge on the rainbow. Only a little bit. No need to go into details at their age. I explained them that a rainbow is a colored light we can see in the sky. And that light appears when the sun beams over falling raindrops. To demonstrate my point, I used a glass prism to show them what happens.


I also put a little mirror / glass prism in a glass filled with water and placed the glass by the window, playing with the light until we capture a rainbow in our classroom. I had given the children an empty small baby jar each and as I held the mirror in the glass, I told them to try to capture the rainbow in their jar.


I am sorry but I couldn't catch the rainbow when I took the picture! But the kids saw it!!

I am so sorry now that I didn't take another picture when they were trying to catch the rainbow! What fun!!! So much laughter!! Obviously, they got nothing. So I told them we were going to make our own rainbow. I had planned to dye some rice beforehand with food colourants for the children to pour layer by layer in a baby jar. Unfortunately, I heard that my granny had passed away in France and I had to leave everything behind (to the capable hands of my assistant Rachel) and flew home to be with my family...... Anyway, when I came back, as I had very little time left to finish our acitivities on rainbows, this is what I did: I had lots of wooden curtain rings in my house. I got them out, sprayed them all in white. I precut some colourful ribbons I also had in my "magic bag" and showed the children how to loop them around the rings.


I tied up up neatly and Voila!!!! The children seemed quite happy witht the results! I don't know if their parents understood what it was meant to be, but I am sure they told them!!! ..


I surely do hop that my Gran is flying on one of these beautiful rainbows now!!

Always in my heart, Mémé  .....


Saturday, November 26, 2011

We welcome Winter!

Hi everybody! Long time no see! Can you believe Christmas is already just around the corner? And there is definitely a jolly feeling in the air!!!
Anyhow. We have stated our winter theme. It always feel good to move on to something new. Kids get so enthusiastic! We went for a small winter walk around the garden together this week. We talked about the changes we saw in nature: how do the trees look now that is different from autumn or summer? How does the grass look? How does the sky look? Are there any (or many) animals around? Are there flowers? Finally, I told them that winter had arrived.  

 I read them a book called  The Polar Bear and the Snow Cloud by Jane Cabrera. It is the story about a little polar bear looking for a friend. The snow cloud tries to help by making animal shapes out of snow, but they're not real and they keep melting.


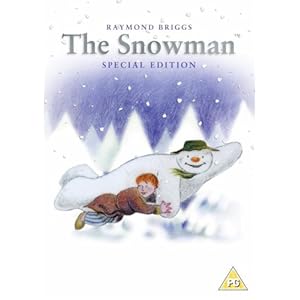
I asked the children to think of things that melt.: ice cream (their favourite answer), ice, snow balls, snow man.. This make me think that there is another cool book you could read the kids and which would introduce the concept of melting to them. It is called The Snow man by Raymond Briggs. I LOVE this simple story. It is a classic and once you sart reading the story, you are bound to feel Christmas is the air.

Anyhow. Back to what we did.  After brainstorming for a while, I brought the children to a table where I had prepared 4 containers with ice in it.


First, I asked them to take some ice I had broken up in pieces beforehand. They held the ice in their hand and observed what happened: "oh, it is freezing, Aude!!", "it's dripping, now, Aude", "that's because it is melting!"..


I told them that the ice was melting because their hands were warm and ice doesn't like warm or hot things. If it melts, it turns back into water. Then I asked them if they knew another way to melt the ice. A little boy suggesed to leave it in the sun (he definitely got the idea!!). I agreed. And then I asked "what would you do if the sun was hidden in the sky and it was a cold cloudy day?". One of them said you could blow on it because this is what he does when his hands are cold. (Waaaa, those little brains are working so fast!!). After brainstorming a little bit, I told them that salt can melt ice.


I added some salt to one of our container. Then I told them we were going to do a little experiment and see which tub of ice was going to melt faster over the half an hour. We labelled our tubs: melting with salt, melting on the table, melting on the radiator, melting in the fridge.


We made predictions (I forgot to take a picture of our little chart- but you get my drift). Most of them predicted that it would melt faster on the radiator (clever bunch!!). None of them mentioned the salt. After half an hour, we went back to check on the ice. Well!!! They couldn't believe that the ice mixed with salt was nearly all melted!!! They got so excited about it!! I reminded tham of last year when it was snowy and icy here. People were buying bags of salt to spray in front of their doorways to melt the ice and make sure they wouldn't slip on their way out. The ice on the radiator came second, the one on the table came third and the one in the fridge came last. I explained again that the hotter it would be, the quicker it would melt.


Sorry if it is croooked. I can't put it straight for some reason.

We then put in the containers in order: 1st, 2nd, 3rd and 4th.

I have 2 other science experiments to do with the children this month: cryogenics and densiy experiment (not directly linked to winter but I make it Christmassy for fun!). What do you do in your classroom in science at the moment?


To conclude this post, I have added a little video from the Snow Man book. Enjoy it!! I always do:


Tuesday, November 8, 2011

How big is your pumpkin?

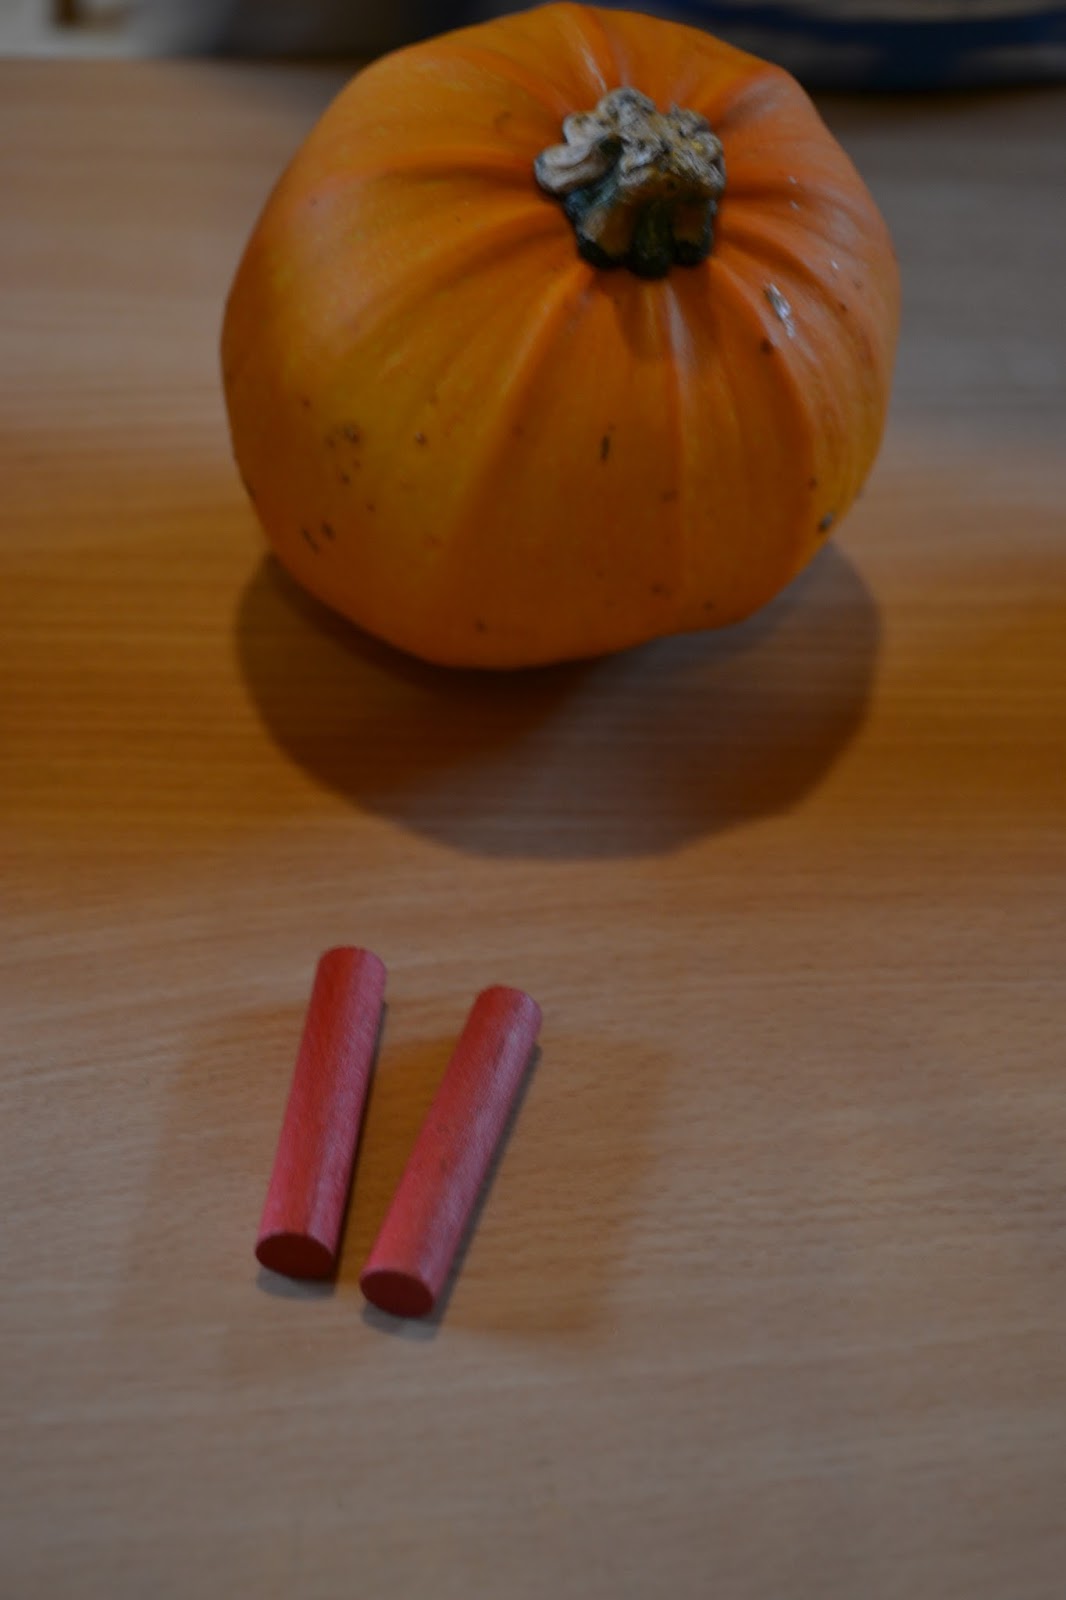
Today, we did a little experiment with the children. The children have been sorting and classifying lots of different types of items over the past few weeks: nuts, leaves, veggies etc... And without even realising it, they have learned a lot!! An extension of these mathematical concepts was to introduce them to measurement. And the best way to do so is to use everyday real objects to teach them. So this morning, I asked them if they could gather around the table to help me figure out which pumpkin was the biggest or the smallest. We used coloured wooden counters as a measuring unit (you can use anything really, blocks, pencils, woden beads etc.., as long as the items used to measure with are all the same size,).


I used the counters by towering them up as tall as each pumpkin.


 Then we counted them.


Then I said: "this pumpkin is 3 counters long" and I repeated this process for each pumpkin. 


We then placed the pumkin from the tallest to the smallest and laid the counters down for the children to better grasp the notion of bigger/smaller in terms of measuring units.


I didn't know if the children would actually find this activity interested. Obviously, the smallest ones lost interest very quickly but my big preschoolers (3.5 to 5) were very intrigued and even made predictions as we went along. So, yes, I think it worked. And I will have to repeat the exercise again.